
Weekend Project: Working with Weathered, Reclaimed Lumber
Many moons ago, when we renovated the third floor, we ended up removing a bunch of (non-structural) walls and ceiling boards. (I say “ceiling boards” because they weren’t joists, they were just installed for the purpose of holding lath and plaster). Anyway, life got in the way, so I stored a lot of them outside. For awhile, they were well-protected under a tarp. Then, for a spell, they weren’t. Most recently, after returning from our nation’s capital, I decided it was a great time to actually do something with them.
For most wood, leaving boards outside for a season or two will not necessarily ruin them, but it’s going to create some interesting challenges that you should be prepared for. I didn’t run into any issues with dry rot, which is a condition in which wood becomes et up [sic] by a fungus and becomes sort of chunky and crumbly (gross!). Nothing warped, which I attributed to the relative radial stability of these woods plus the fact that they were already dry (having celebrated their almost sesquicentennial since being milled).
However, I noted that there were a lot of bigger cracks in the grain of the wood. What gives?
Water: 1, Wood: 0
I’m thinking it’s almost certainly a matter of repeated freeze-thaw. Trees engage in this diabolical, arcane sorcery known as capillary action. This is how the water goes from the ground up into the top of the tree, defying gravity through special channels that the trees invented for this purpose (it’s called xylem! Not to be confused with NYSE: XYL). And it also explains why wood, in many ways a very much living thing even when it’s dead, has these little channels that, well, can transport water that then freezes and thaws and– you get the idea. We’ve noticed a lot of deterioration in some of the particularly low-quality salvaged brick that we used on our patio, so I’m thinking this is the same situation. Porous brick, porous wood.
In my various and sundry misadventures in the world of housing, I used to say that “the House always wins,” but referring to the writ-large House as nature. I used this to refer to the fact that water will always find a way, which is why the building envelope is so important. The same is true with protecting your wood. Unless, of course, you happen to have some wood that just happens to have sat out in the rain and snow for years. Hence why I’m writing this article!
What does the weathering means as far as working with it, though?
Reclaimed Lumber 101
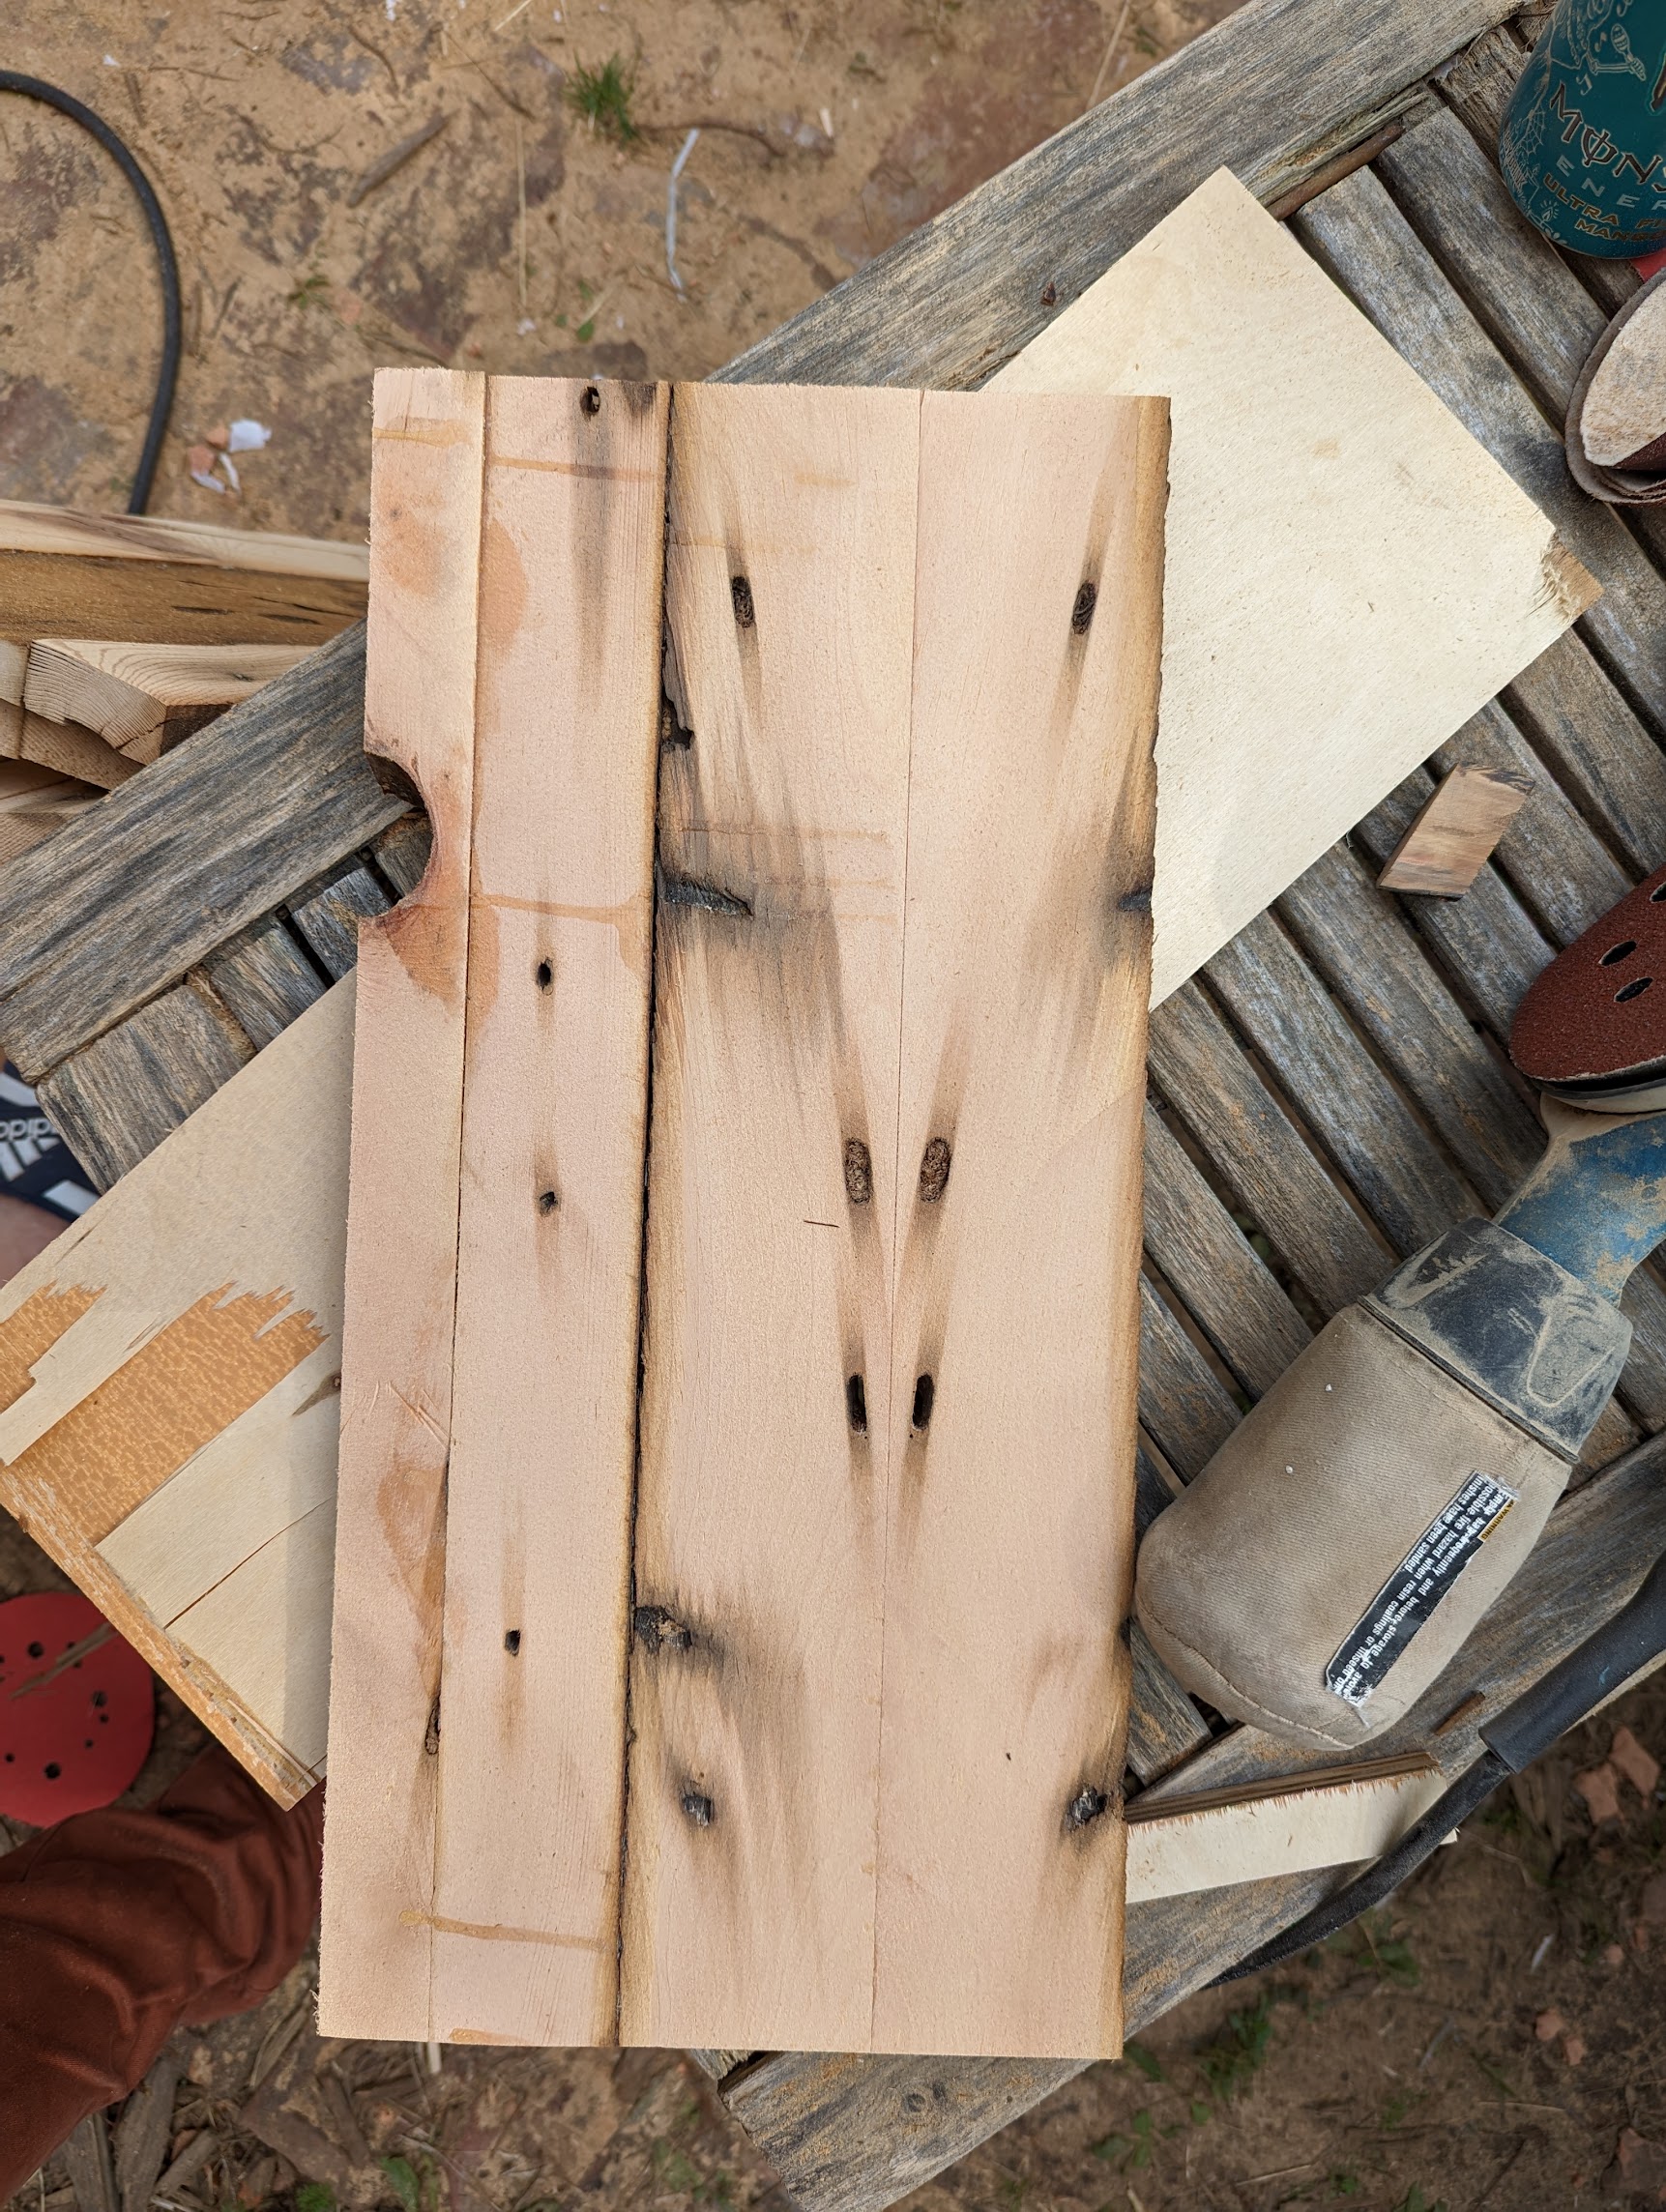
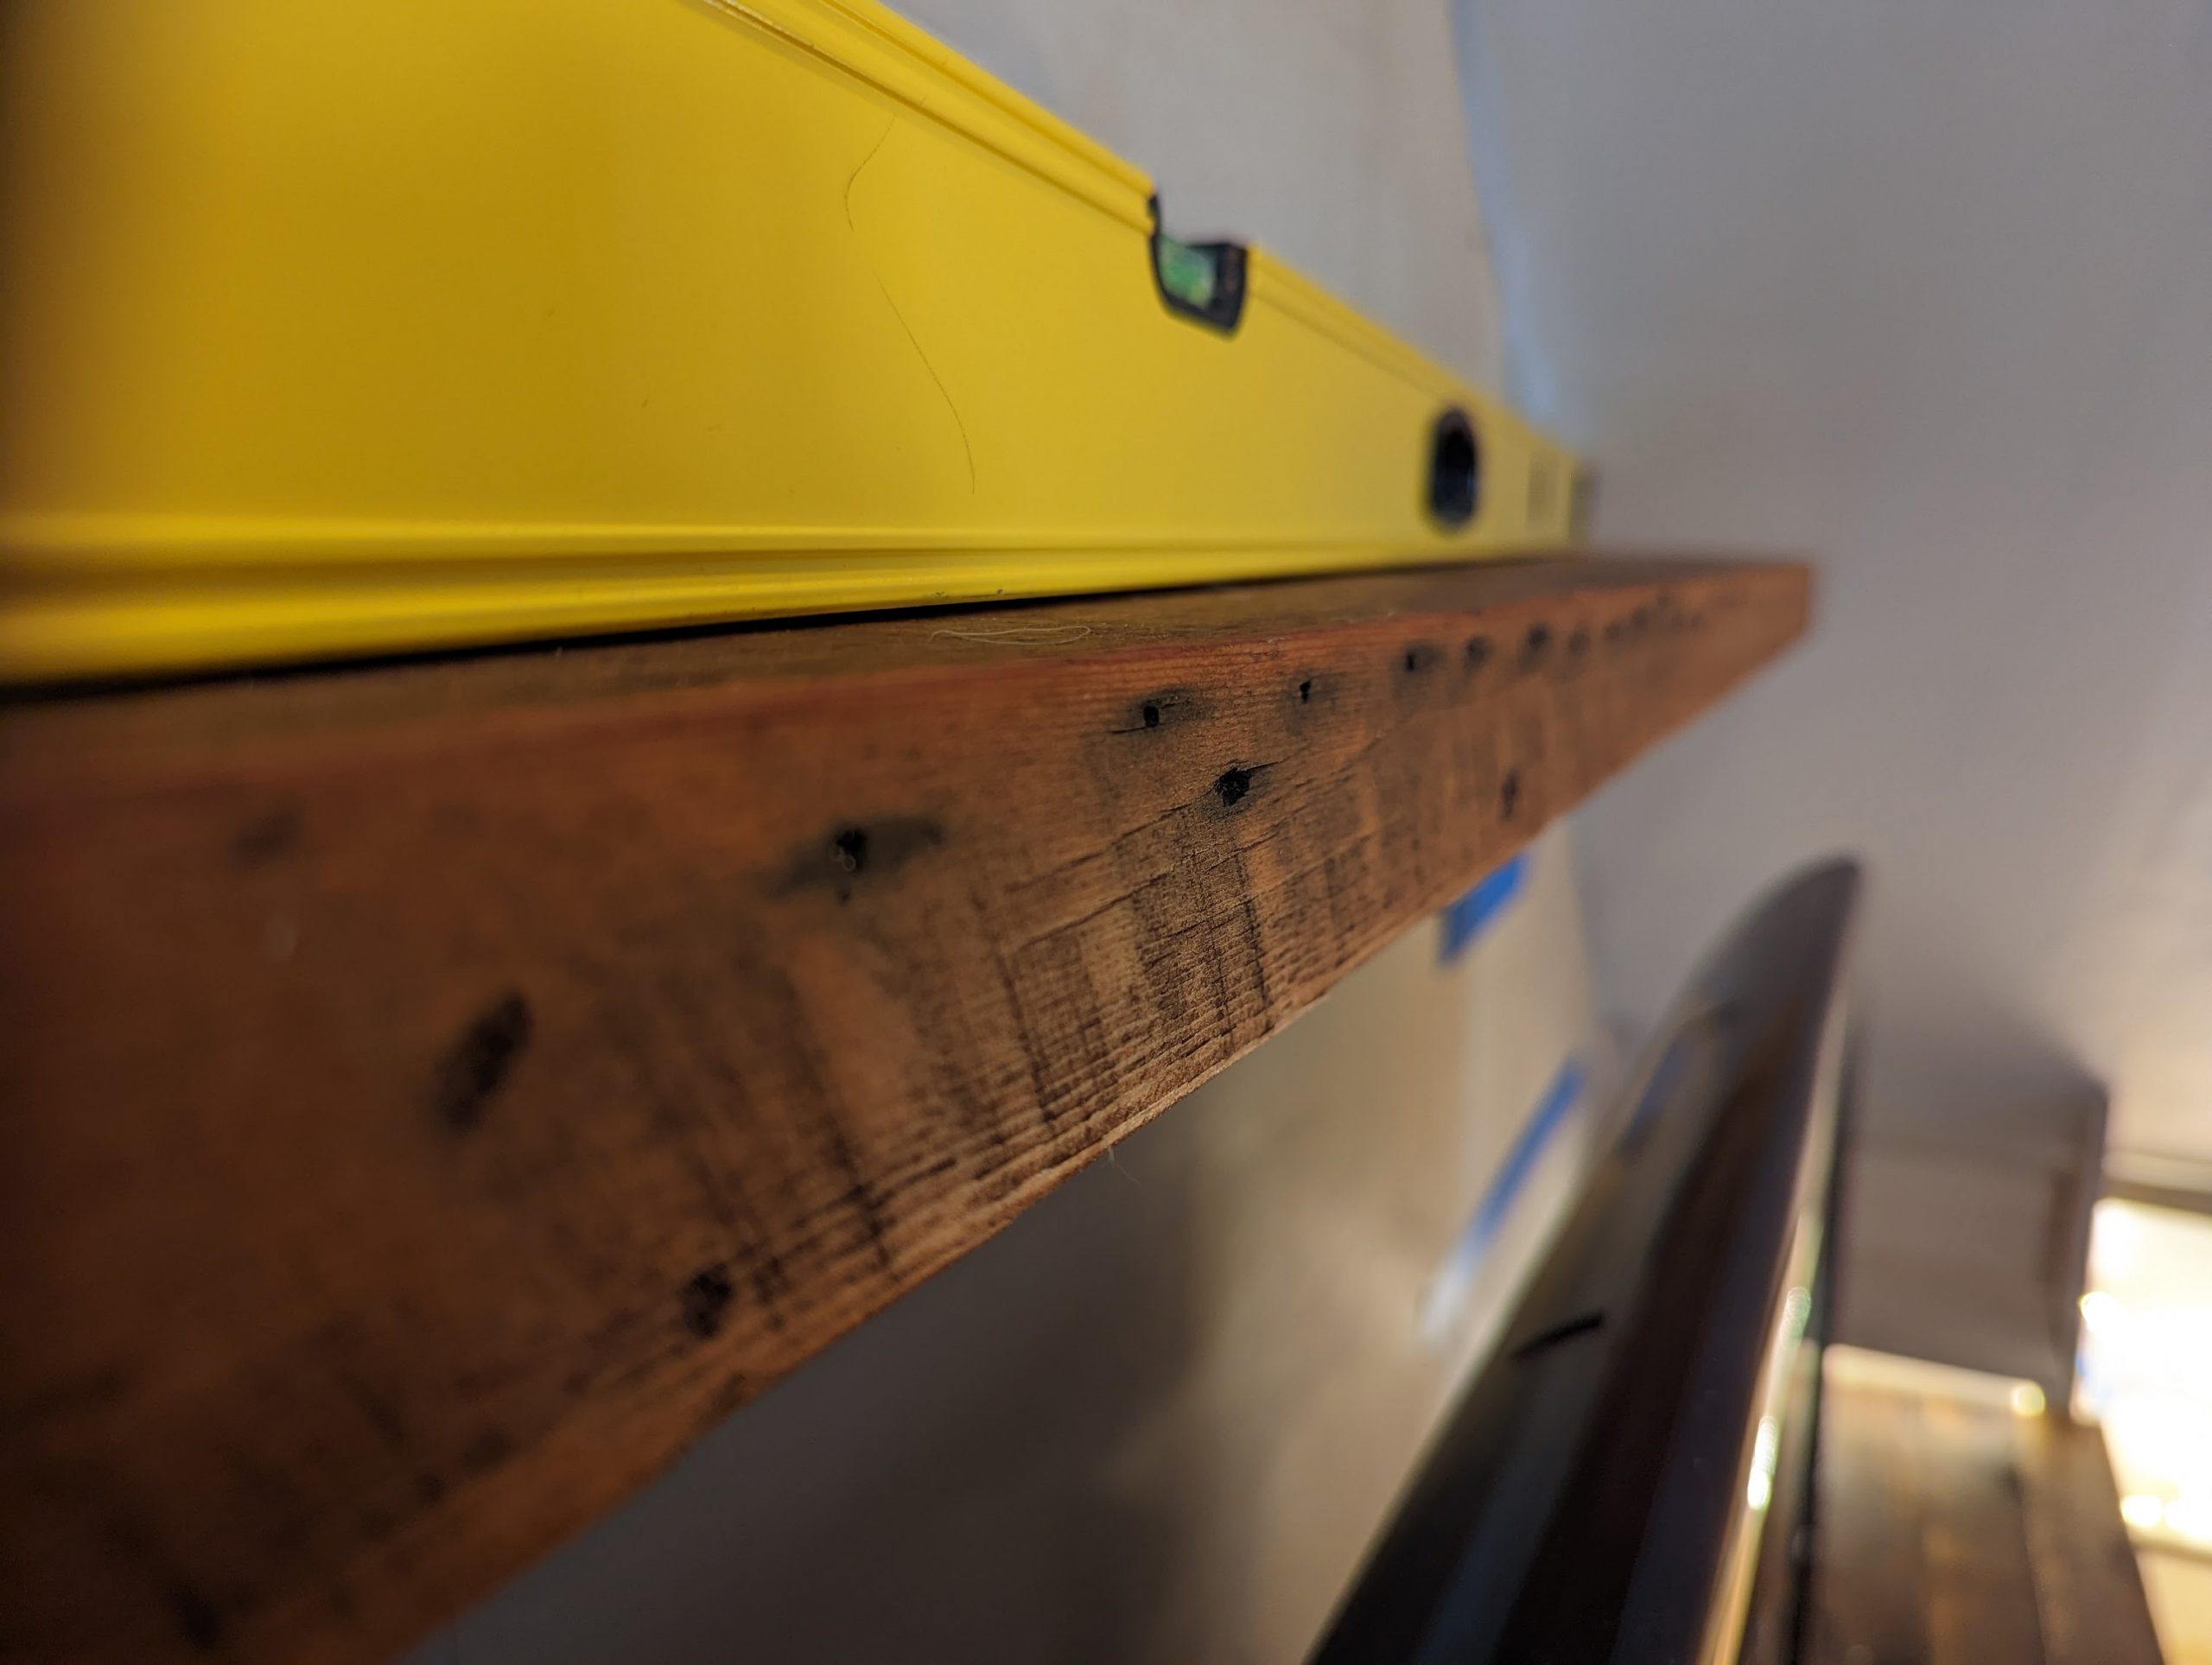
Reclaimed lumber can be harder to work with than pure, unadulterated lumber. As I mentioned before, it’s going to be dry, so if there’s any warping, that’ll probably already be apparent. Exceptions might be in the rare case that a board was installed under a lot of stress, I guess, but generally, these boards are going to be fairly straight. This means they can be easily dressed (in woodworking parlance, a.k.a. cleaned up and surfaced). There is one major caveat, and it is utterly important, and that’s that reclaimed lumber usually has a lot of nails in it.
Back in the olden days, when men were men, women were women, and Lucifer’s plans to one day diabolically conceive Ron DeSantis were but sketches on the drawing board in the pits of hell, they used to install lath– skinny pieces of wood- directly onto wall studs and ceiling joists. They used tiny nails to do this, as opposed to the framing nails that were used– which were at least twice as thick as most of the nails used to day, and as much as about 50% longer (chonky bois!). Steel has improved in quality, as has the ability to shoot it from a machine with a piston at a billion miles an hour with compressed air. The tiny nails will shatter when they come into contact with a carbide blade. Heavier nails may well chip a carbide blade. This will not ruin a carbide blade, but it may chip a tooth.
Safety First
NAILS AND POWER TOOLS DO NOT MIX. A carbide blade will nom up tiny nails, but steel will get nicked by nails. This means that planers, jointers, and especially smaller bandsaws can have their blades messed up by hitting a nail. Harder woods will more quickly dull these blades, but a nick means that a jointer or planer will no longer create a smooth surface. It’s a great way to get your ass handed to you by the old guys in your woodshop (not that I would know about this. But, in my defense, it only happened once!). Either a wide belt sander or a high-speed cutting device– most likely a table saw or chop saw- are also liable to create sparks when hitting steel. This means that you could quite literally blow up your shop, since wood dust is explosive.
Tip 1: Weathered Lumber Is Extremely Splintery!
I had to be extra careful because of the additional damage done to the wood by the weathering. Fortunately, it’s still relatively dry as far as wood is concerned. It’s unlikely to warp additionally if it’s not already. This is not like some species I’ve worked with, such as an eight-quarter board of butternut I have that seems to have attempted to twist itself into a knot, among others. But it will splinter, and it’ll probably splinter a lot. Even a super dense, old growth board will still splinter. Such is the wont of softwood especially.
I’d like to reiterate for the record that I’ve never cut myself on a blade in the woodshop, but I’ve gotten plenty of gnarly splinters. It’s not something that can be easily avoided. Plywood and weathered reclaimed wood are by far the worst. So, be very careful– I recommend a snug-fitting nitrile-coated, woven glove of some sort. I’m a big fan of Ansell’s ActivArmr, which you can get at Menards or Amazon. Leather also works, but usually trades enhanced protection for decreased dexterity.
Splintery woods also kick out bits– and clouds of sawdust- during sawing. So, wear a mask, safety goggles, and, of course, hearing protection.

Tip 2: Weathered Lumber Will Guzzle Many Finishes
If you’ve followed this blog for quite awhile, you’ll know that I spend a lot of time chasing after finishing solutions that are less reliant on petrochemical products. I did a whole article on my experience with Tried and True wood finishes. I confess that I do love the look of a floor professionally finished with a warm, satin polyurethane. But you can achieve ever so much more depth, not to mention durability, with a natural oil finish. Polyurethane is great until it isn’t. It doesn’t wear well if you scratch it, and there isn’t, for the most part, a way to get scratches out. It also stinks up your house for weeks when you apply it. And, of course, it’s a petrochemical product, most of which include additional toxic drying agents (heavy metals). Napthenic acid mixed with cobalt something. I’m not a chemist, people– I just know that Jim Slattery was telling me a lie so many years ago when he told me that “all finishes are dissolved in naptha.”
Old House Love: Ditch The Chemical Floor Finishes
But I digress.
Most wood finishing is very different from paint. With paint, you want to get as thin a coat as possible that covers the entire surface. With bare wood, finishes are different depending on where you’re at in the process. Bare wood will often consume a surprising amount of most finishes. For the “Old House Love” article linked above, and for most– but not all- of this reclaimed wood:
Step 1: I used a sanding sealer that was a very weak cut of shellac (still blows my mind that we basically use insect spit in industrial finishes because it’s shiny, a good enough sealer, and easily applied). This is just shellac flakes dissolved in denatured alcohol. You can experiment with different chemical mixtures. I assume someone has written about it, somewhere on Al Gore’s internet, trying to find the exact balance of ethanol, methanol, methyl ethyl ketone, methyl isobutyl ketone, and, oh yeah, insect secretion.
Step 2: I then lightly sanded the dry boards at 320 grit. Then, a coat of the thinner Danish oil, which absorbs readily into the wood. You have to wipe off the excess, or you can use a buffer to keep the party going. If it looks wet, it still has “excess” finish on it. This stuff takes literally weeks to cure in indoor conditions. It will cure faster in hotter and dryer conditions. The solvent-free world is wild like that.
Step 3: You can apply two coats of the Danish oil if you want. For light-duty stuff, I’m not worried, so I’m going straight to the Varnish Oil. This stuff is so thick that you can use a cup to coat the floor of an entire room, basically, so be very judicious. Accordingly, it’s expensive. But you need so little of it. This will penetrate into the wood and cure as a very hard finish. The top coat from this brand contains beeswax, which cures to a lovely finish, but, as wax, must be the top coat. In other words, don’t put this on until you’re ready. (Anecdotally, I did recoat a portion of our floor where I accidentally scratched it while building a cabinet. It had, one supposes, been a sufficiently long time that I was able to use Danish oil on top of what was once wax).
The manufacturers of Tried and True recommend buffing with a very fine steel wool rather than sandpaper, because of how it smooshes the wood fibers rather than abrading them (as sandpaper would, while also gumming up the sandpaper in about two seconds). Since I don’t have much in the way of fancy finishing material, I quite literally wrapped a buffer pad with steel wool and attached it to my $35 buffer.
Tip 3: Weathered Reclaimed Lumber Requires A Lot Of Patience. But It’s Worth It.
Reclaimed lumber has become such a trope in recent years that you can buy peel-and-stick adhesive panels that are meant to look like reclaimed lumber from places like Target. Jesus, take the wheel. This is, of course, abominable– so, too, is it to make things that look reclaimed even though it’s new material. “Look at my suburban vinyl-sided home with its Reclaimed Wood Barn Door that I bought from Wayfair!” Bro, just own your identity. You can have pretty things in a boring house! Or, you could have an interesting house. I guess we can’t all buy cheap houses in Rust Belt cities, though.
The end product looks great, though, and it can be made to look just as polished as clean hardwood.
I start out everything with a 40 or 60 grit sanding disc with an orbital sander. I then go up to 100 or 120, whatever I’ve got, and end with 320. 320 sandpaper is much more available in 2022 than it was in 2012, the last time I was doing any meaningful amount of woodworking. Softwood is much easier to sand than hardwood, so it’s much faster than, say, working your way through the grits for finishing hardwood furniture.
How Finished Is Finished?
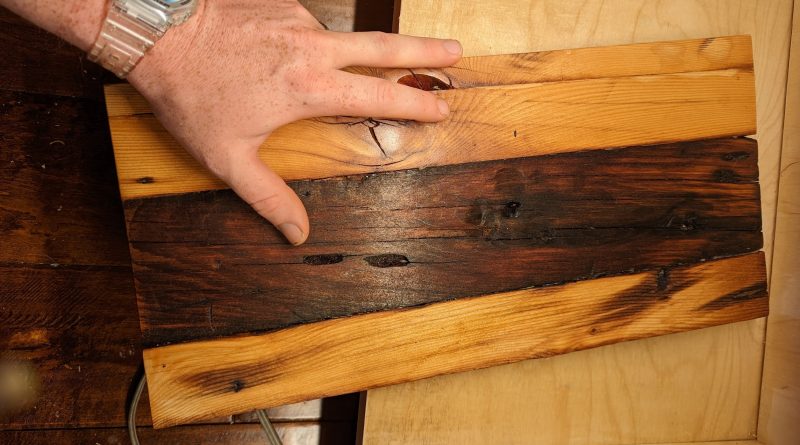
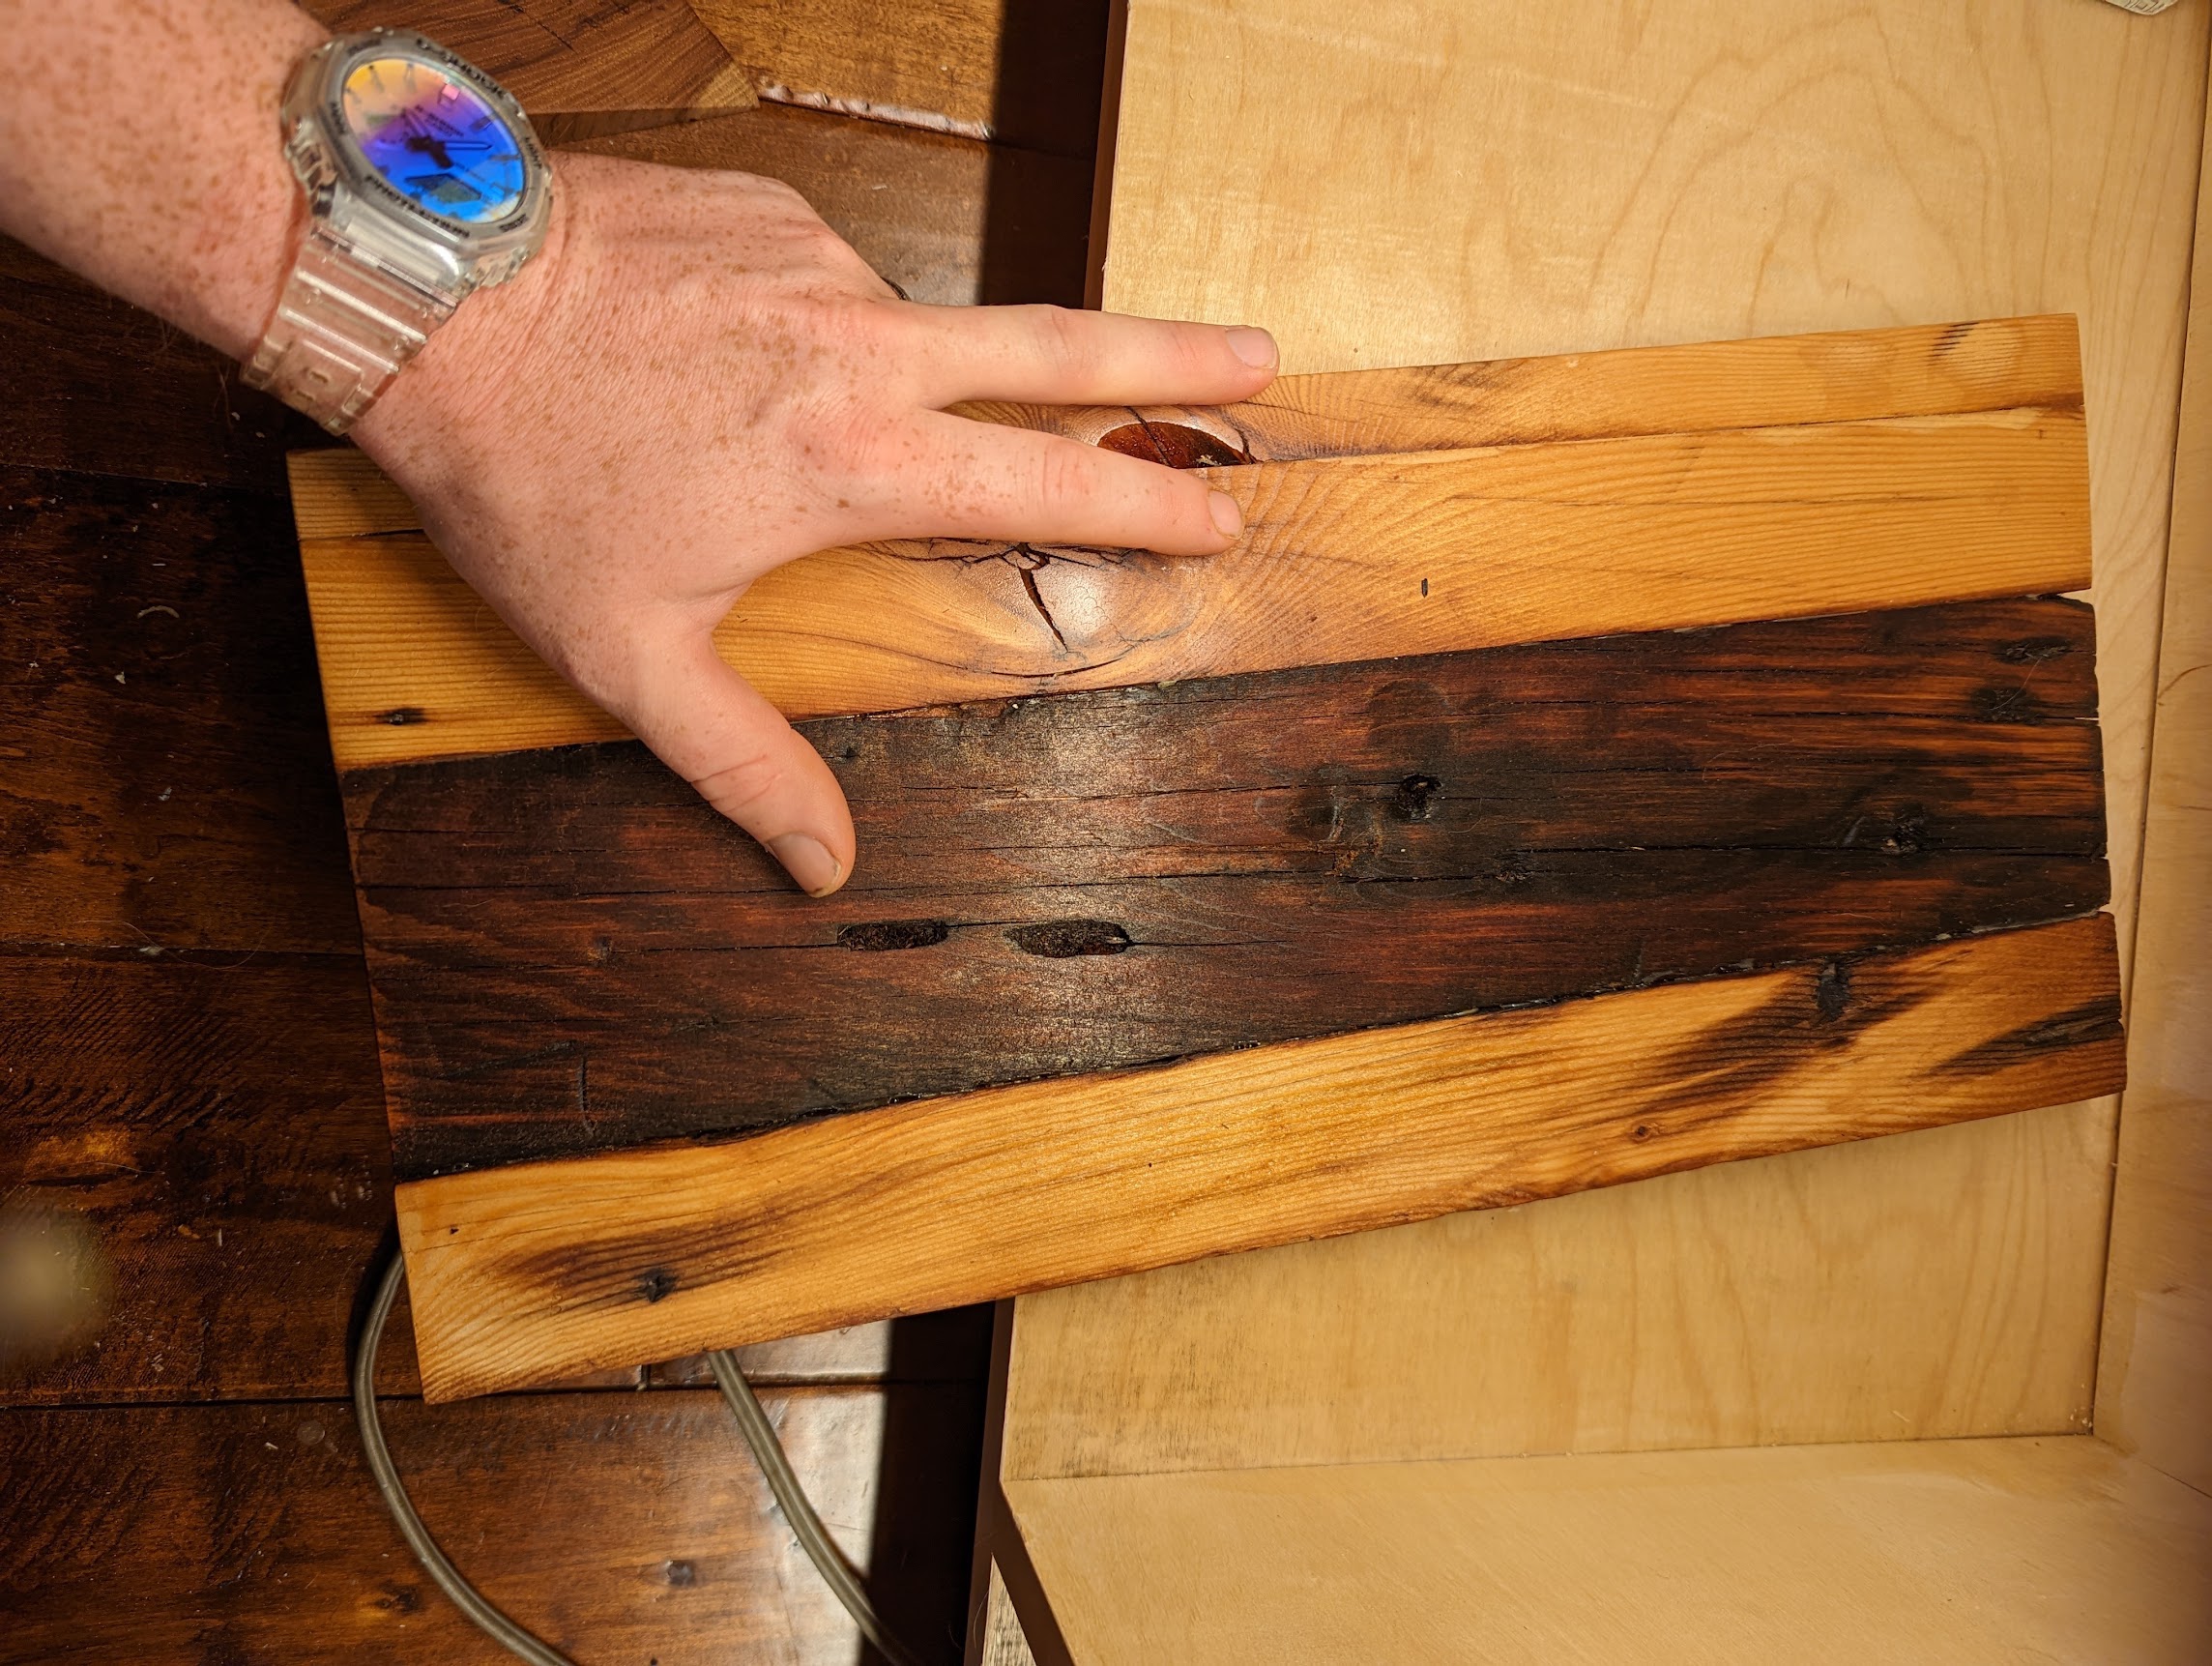
For the folks who taught me most of the things I know? They were horrified when I suggested working with reclaimed wood in their woodshop. In this case, these boards have different purposes. For anything that’s going to be a finished surface– especially a contact surface, like a countertop or a bench- you’ll want to make sure everything is level and smooth. This means that careful glue-up is important. The reclaimed bits for this project are for light-duty drawer fronts, you’ll note plenty of odds and ends of imperfections. In a different shop setup, I’d probably bevel the edges. But this would also have a high risk of tearing out additional bits from these fragile (and super thin!) boards.
So, these will do– they’re not clean, but they’re clean enough, they’re the right size and shape and thickness, and they feel smooth!
More photos will come when I finish the thing!
For more articles on building stuff, read Handbuilt all the damn time! Check out Tried & True Wood finishes on Amazon– including the Danish Oil (thin, base coat), Varnish Oil (thicc, intermediate coat), and the Original Wood Finish (top coat only, contains beeswax. The finish with wax must only be applied as the final coat). The Danish oil can be applied liberally to surfaces to start, but the varnish oil especially is best rubbed in or buffed in, using very, very small amounts! Total curing time takes weeks, but it delivers a super hard finish and a beautiful patina.