Pervious Paving Patio, One Year On
We did a somewhat experimental project last year at the old homestead around a pervious patio installation. It was a tremendous feat of the Early Pandemic Daze. My co-conspirator and I toiled, shirtlessly, under a relentless, spring sun. We excavated tons of dirt and backfilled with tons of gravel. In the spring and into the summer, we laid the first bricks– as we found them- and cobbled together an assemblage of salvaged bricks from around the metro area. This was an entirely DIY project that cost thousands of dollars of cash and thousands of dollars of labor. We had no experience with pervious paving specifically, but we did a TON of research. Move over, 3P! This is the Pervious Paving Patio! (I’m sorry). Here’s what we learned.

The Basics: Pervious vs. Impervious
Impervious surfaces do not allow water to penetrate through. Pervious paving surfaces do. They are becoming more trendy as part of an increased interest in working with nature rather than against it. Why? Engineers traditionally believe that the best solution is one that controls nature. Your green infrastructure stuff is hokey, an MDOT engineer told me at Transportation Bonanza in 2020. The problem with this is that aging “grey” (concrete) infrastructure in the age of budget cuts simply can’t manage all of the runoff from increasingly intense and increasingly unpredictable weather events.
This is a big problem in the Rust Belt, especially, where we have an abundance of rain and an abundance of municipal austerity. The only trickle-down that is happening is water! So, working with nature means holding water rather than channeling it somewhere else. The benefits are numerous. Principally, this reduces strain on combined sewer infrastructure, so, fewer backups and “combined sewer overflows.” Secondary benefits include the ability to install things like rain gardens instead of asphalt. Or the fact that asphalt absorbs and holds heat while higher-albedo surfaces and gardens actually reduce ambient temperature (urban heat island effect). Also, like, flowers are really pretty? I don’t know.
What Materials To Use
Not all materials are suitable as pavers, and not all materials are suitable as pervious pavers. We used salvaged brick. It was not as cheap as we wanted, and there were some other problems, too (see Step 5). If you have more money than time, just buy some legit pavers from a manufacturer. Unilock makes some gorgeous stuff. We looked at these and, in retrospect, given how much time we spent driving all over creation to pick up a Honda-load of bricks, it might have been easier to just buy them and have them delivered to us. Make sure you understand what you’re getting into. Materials that are specifically classified as use for pervious paving usually have some sort of offset bump– what my partner might refer to as a “nubbin.” This makes the process of installation easier as far as joint size.
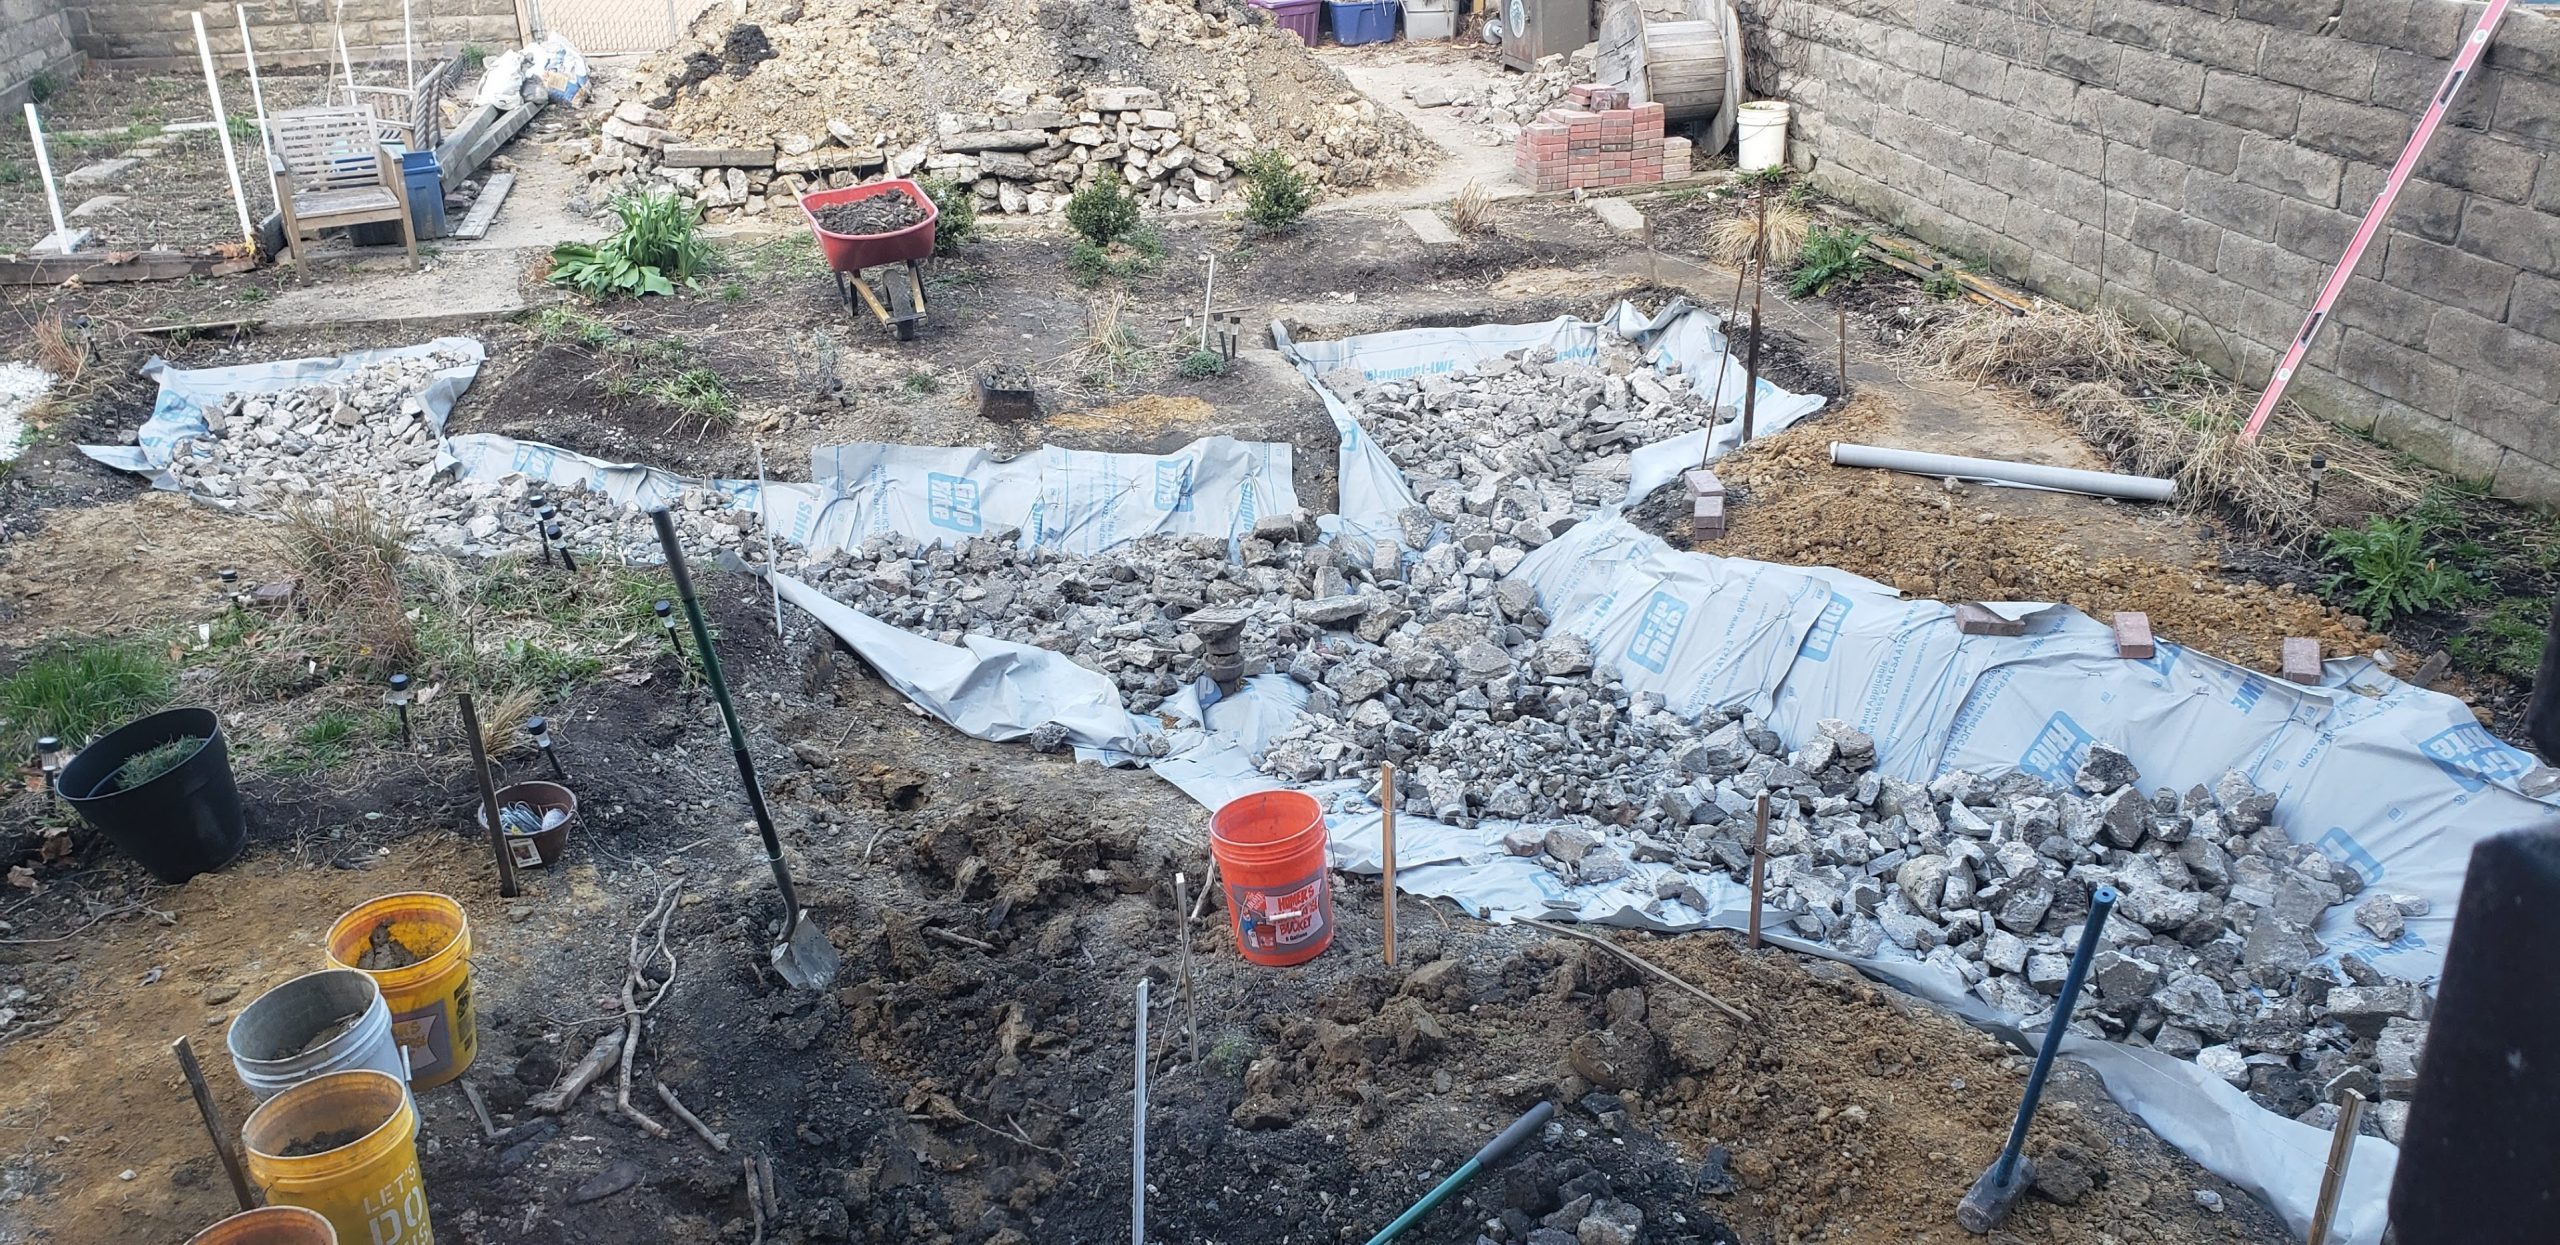
Step 1: Excavation.
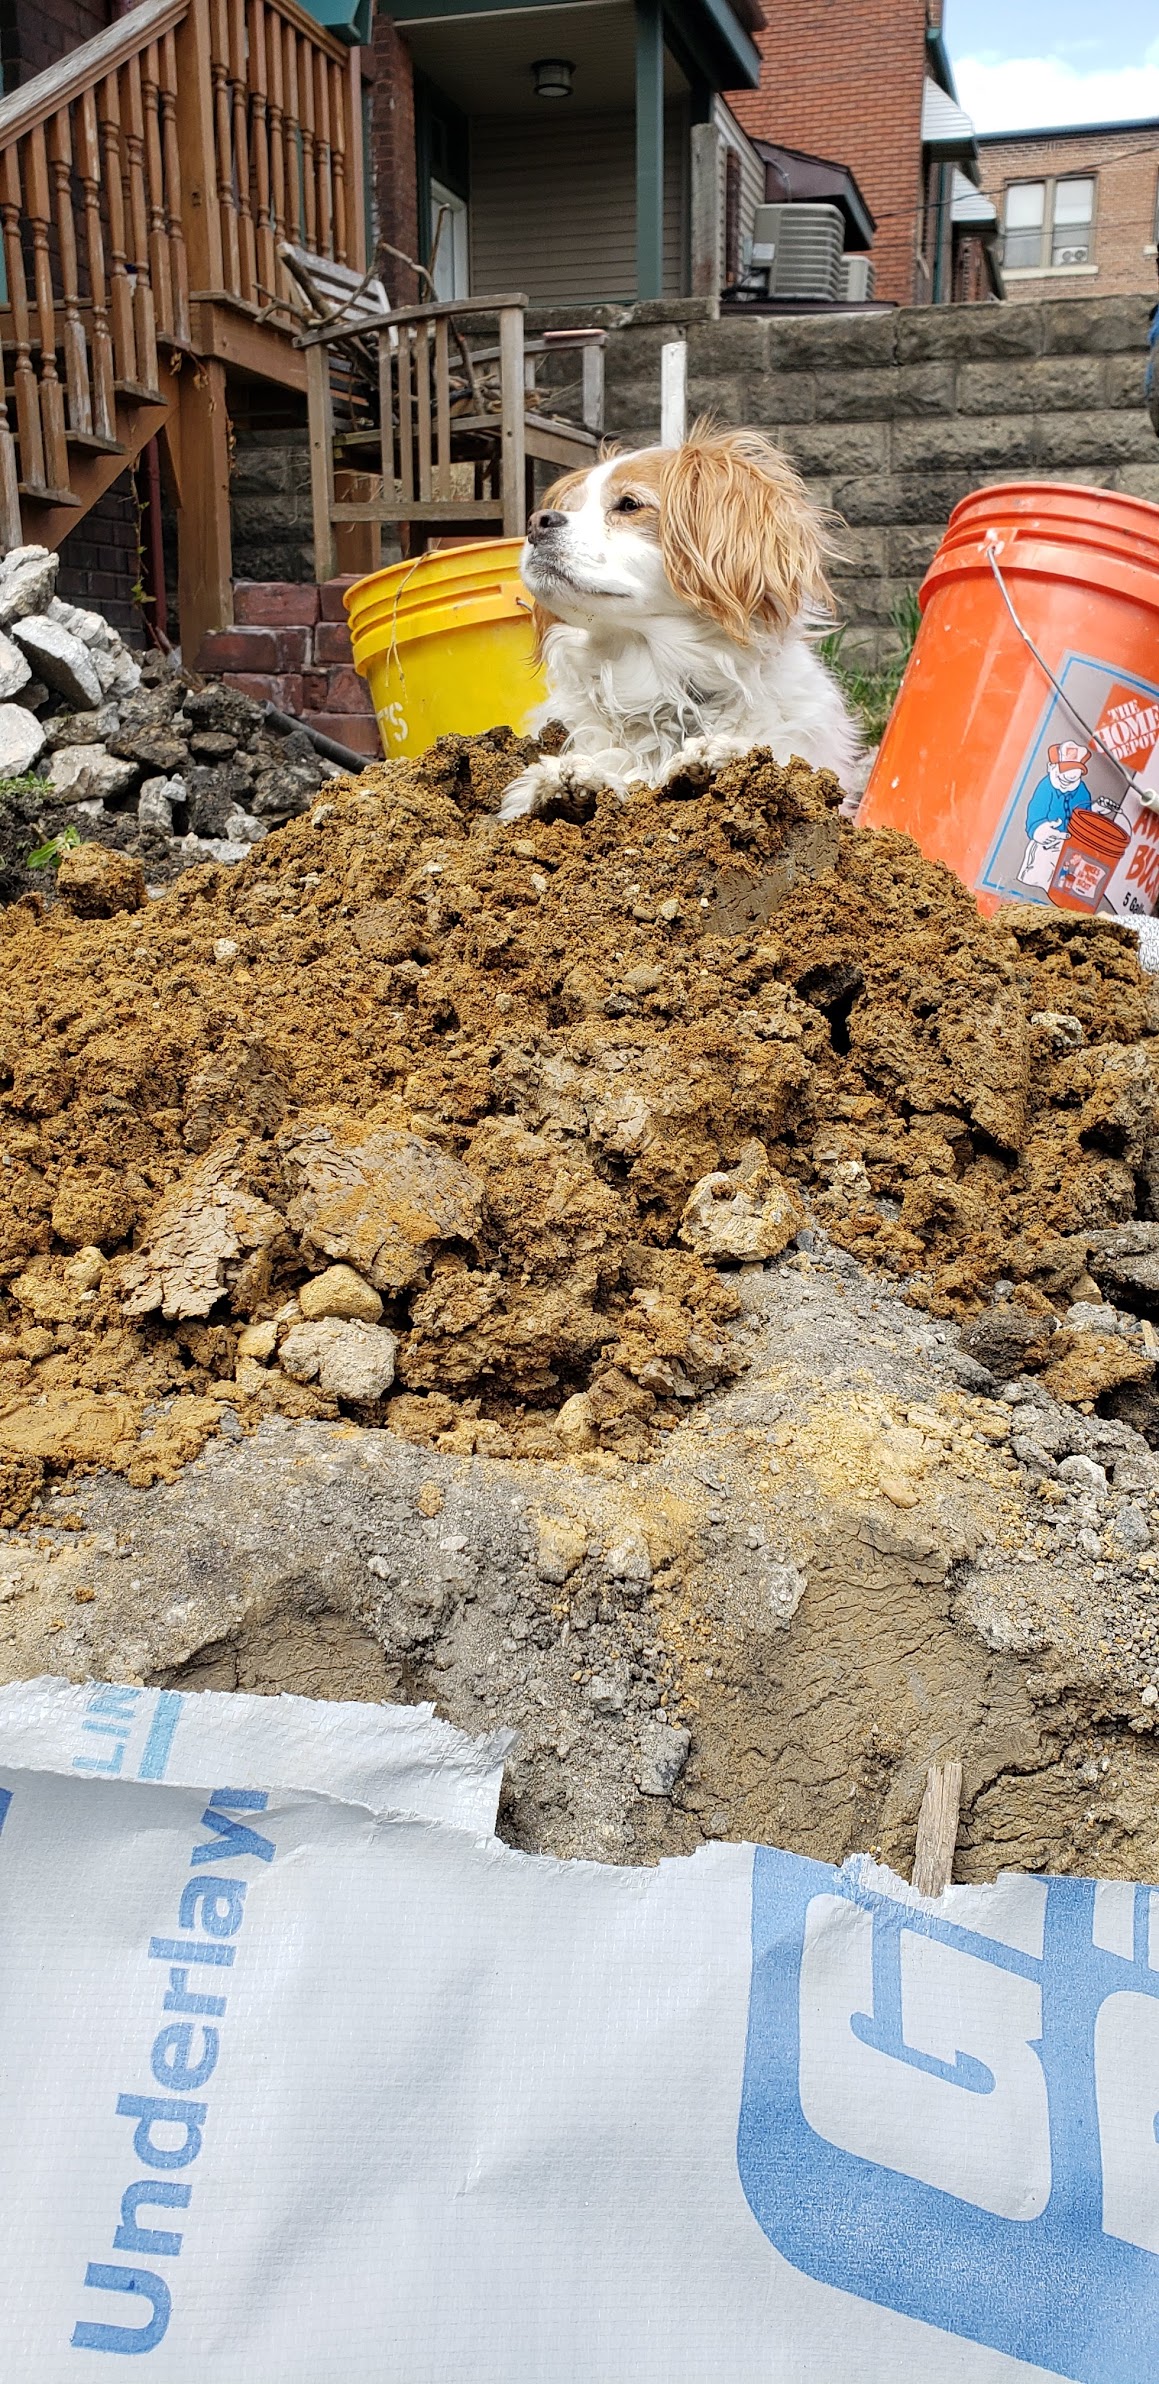
This was all done by hand. Yes, we sledgehammered a few thousand square feet of concrete slab by hand, and we carried it across the yard by hand. Concrete and a few dozen tons of soil and clay. And loaded it into various trucks and dumpsters by hand. I do not in a million years recommend doing this by hand. Unless, say, you have a lot of time and want to skip trips to the gym. As someone who gets sunburn on a rainy day, I also recommend sunscreen. Deep Lockdown is a great time to do a massive project by hand. Please, just hire someone with a little machine to do it.
It is surprisingly easy to get rid of broken concrete. People are always looking for fill. We gave away broken concrete to a guy who made three trips in his SUV from an unspecified municipality Downriver. People are building walls on waterfront properties, filling holes around foundations, or God knows what. Getting rid of dirt, however, can be very tricky. As always, you do not want to use this kind of dirt to build gardens because you do not know what is in it!
Step 2: Liner and backfill.
What material to use was a debate for some time. A number of sources said you can just use that faintly fuzzy weed barrier stuff. You know, the chintzy, black stuff, sort of a mesh– it’s made out of polypropylene. However, I’ve seen this degraded and fluttering across enough parking lots that this seemed like a terrible idea. The idea was to have something that could be sort of water permeable but would not let weeds through– and would hold soil back. We opted instead for a woven, GripRite roofing underlayment. Roofing underlayment?! Hold up! Hear me out, people!
It’s designed to last a long time under a lot of weight and temperature changes. We also perforated the bottom to make sure it would drain, and we specifically dug a little well about five feet deep in a sandy part of the yard. The slope ensures that, in a major rain event, water will drain to this point, and will drain through the soil faster from this point.
Ready For The Warm Weather? Spring Into Native Plants!
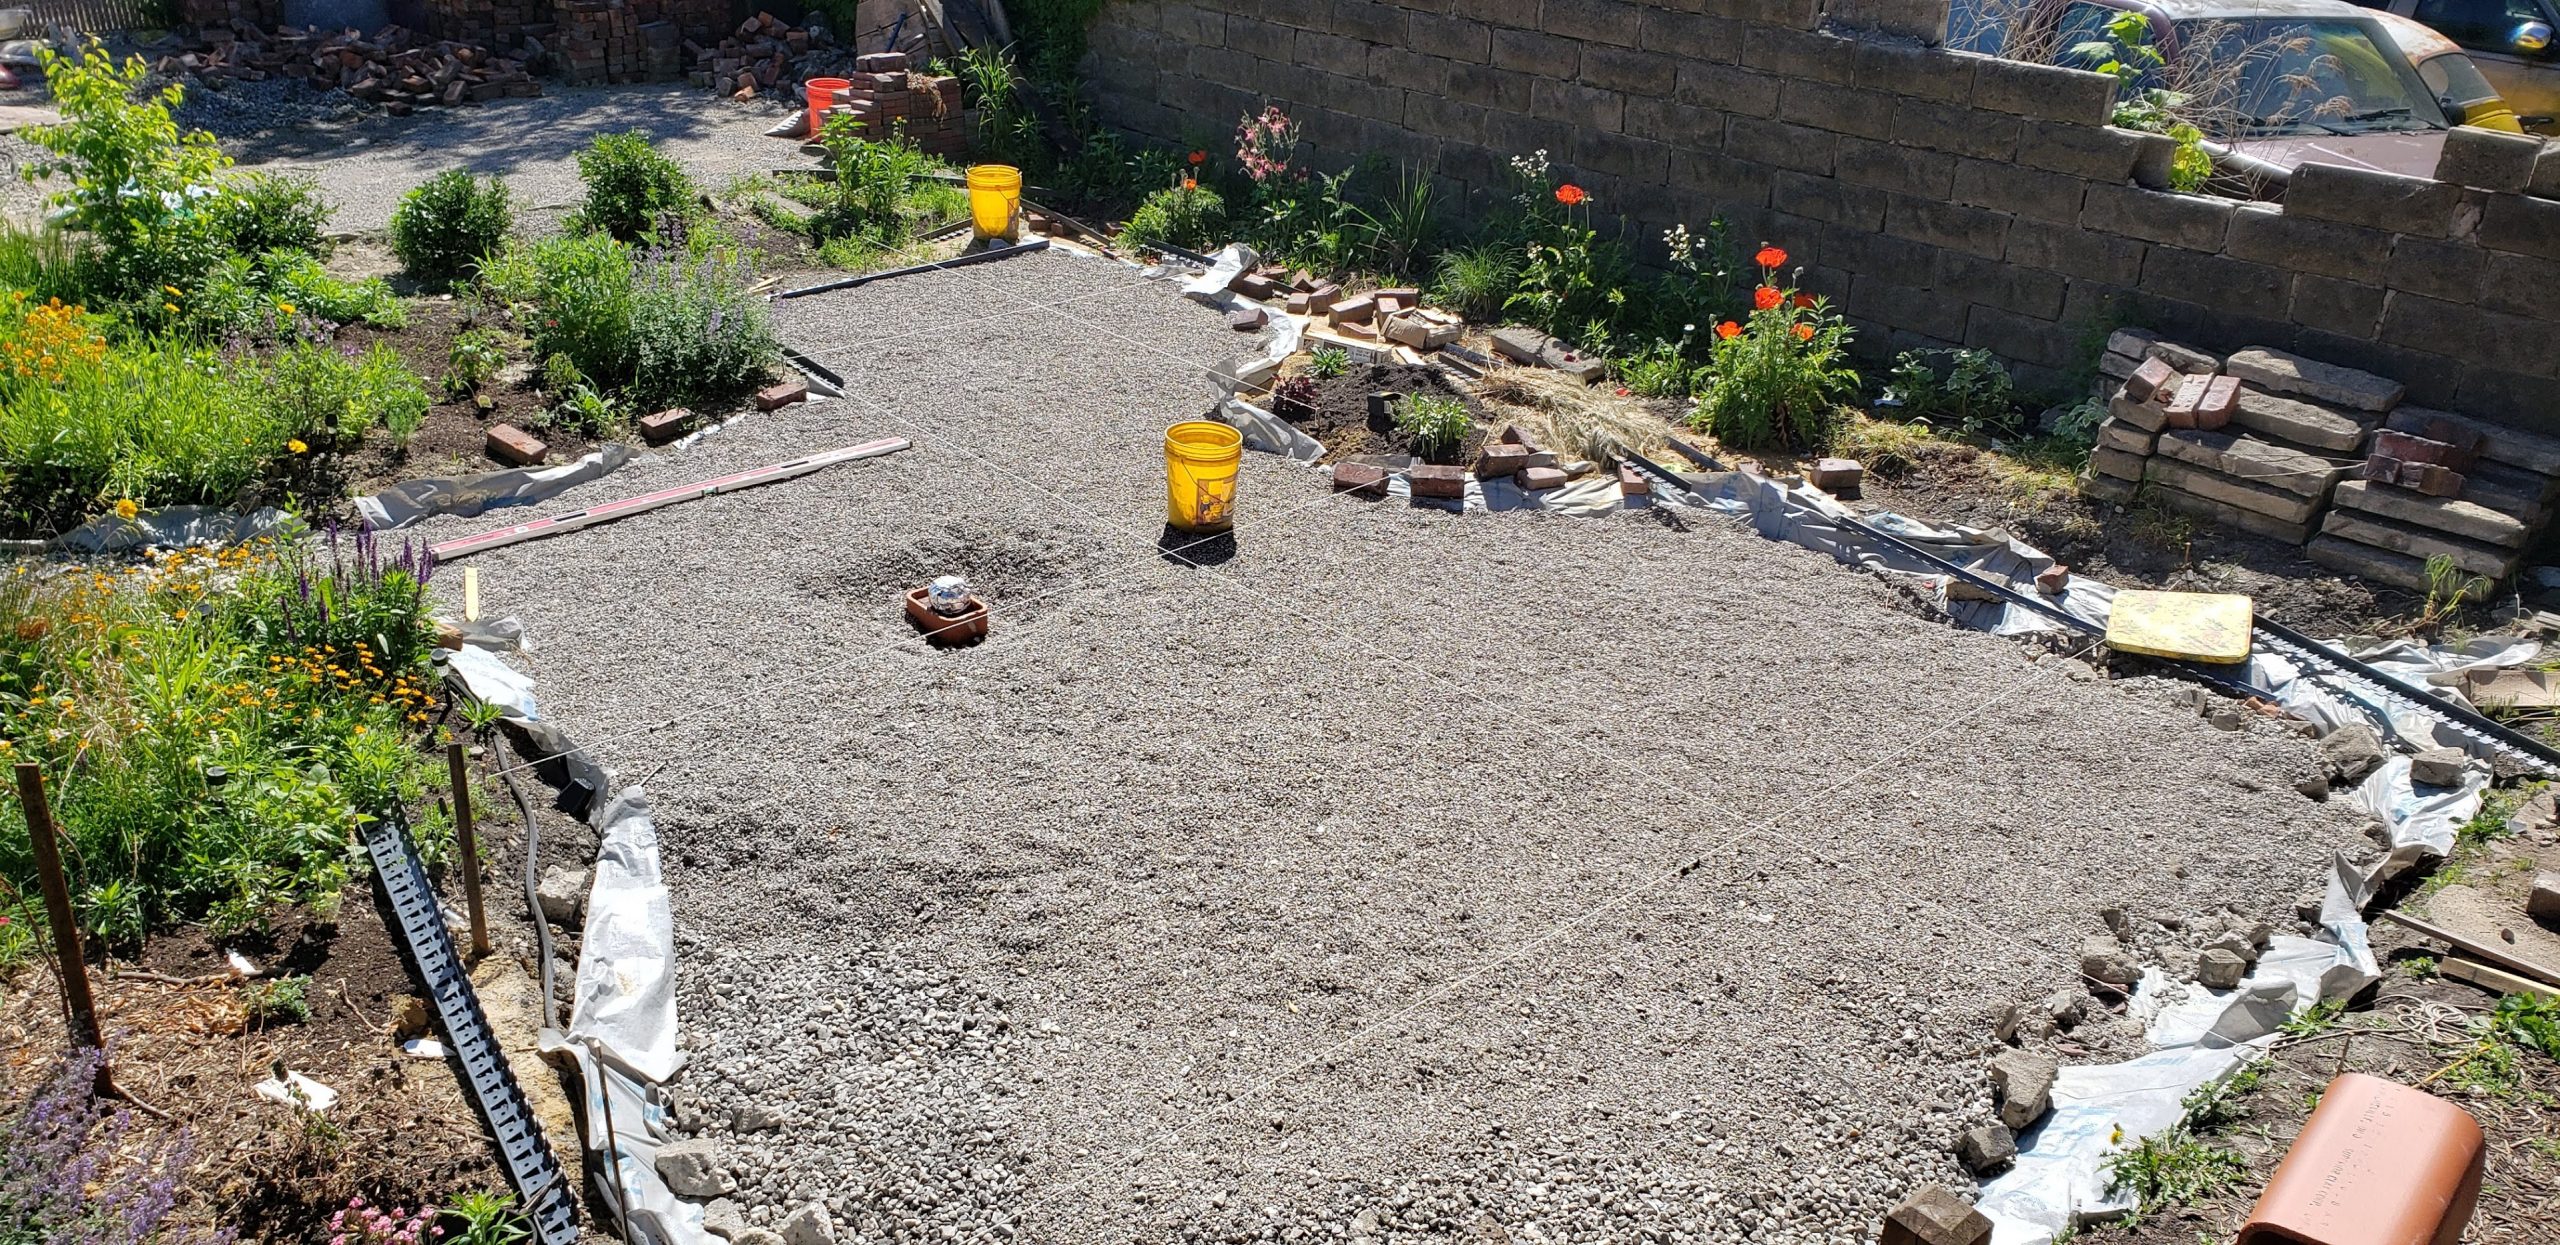
Step 3: Large gravel and small gravel.
Generally, you are going to be layering an installation with the largest materials on the bottom and the smallest ones on the top. You always want to use chunky, chipped materials, instead of smooth, tumbled materials. River stones and pea gravel are not suitable. This is vital! The chippy edges are sharp and they make the bits fit together better, while the round edges will make the surfaces sort of slide against each other.
When installing, is important to make sure that the smaller materials filter down into the lowest layer. A tamper, compacting machine, vibrating plate compactor, or whatever you want to call it, should be used to smoosh the materials down and make sure everything is level. This also mitigates settling. We did not do this because we were lazy and broke. It wasn’t a disaster and we haven’t experienced any settling even from heavy use. But I recommend it. You should be able to rent one of these from your local Home Despot or Sunbelt or hardware store.

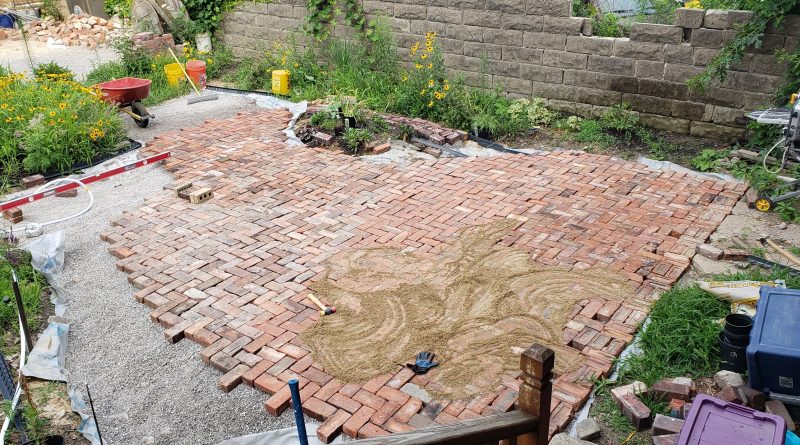
Step 4: Sand and brick top layer.
This part was tricky. I didn’t use a layer of sand on top of the gravel, and I am not sure whether this was the right approach. A lot of instructions for non-pervious involve laying brick on top of a layer of sand. We did not do this because it seemed superfluous, given that you are meant to wash the sand into the joints. It has thus far turned out OK, but we’ll see over time.
Muy importante: You will want to use coarse sand. You do not want to use a really fine sand, nor do you want to use a polymerized sand. Polymerized sand is very fine and is more like grout than like regular old, “general purpose” or ” masonry” sand. Polymerized sand will cure and make the joints impervious! Don’t use polymerized sand for a pervious installation! The downside is that your average masonry sand includes some fine pebbles, too. But these are all small enough to fit into the joints, which should be pretty wide.

Step 5: Sand Joints and Sealers to Protect the Finished Surface
Come spring, we found that the installation itself was holding up fine. Rain sluiced through the wide, sand-filled joints, and the yard drains quite well. We have no more flooding in the basement! Between the “pit” (rain garden), which is designed to hold several thousand gallons, and the patio, which has an even higher capacity, we should be able to survive even pretty extreme rainfall. Michigan’s record rainfall is something like nine inches in a day (!), but it’s near a lake (if I recall correctly), so I don’t see this being an issue. We’ve survived a couple of inches at a time with only dampness in the basement, so this should make it even better, since we’ve directed a few downspouts to drain into this basin now as well.
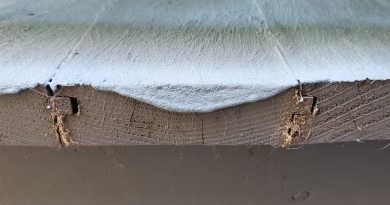
However, some bricks has chipped. Freeze-thaw was the major perpetrator. While no brick will hold up to repeated cycles of heavy freeze-thaw, the lowest-quality, crumbly brick is especially a mess. This is usually not the “face brick” that adorns the front of houses, but often the stuff that is used in the second course. We sometimes call this salmon brick for its vivid hue. The bricks that did hold up were the rougher-looking fire brick and the original, 1895 brick from our house. These are the same kinds of bricks that still serve as the surface layer of streets like Michigan Avenue in Corktown.
We are currently experimenting with a couple of sealers. We hope these will protect the bricks from freeze-thaw, because otherwise, we will have to replace half of the patio within a couple of years. A water-based silicone sealer seems the cheapest option, but it’s not clear how well it will hold up. Got some you love? Got some you hate? Please let us know!
Two things we did NOT do for the pervious paving installation
Drainage pipe: Installers always recommend installing a perforated drainage pipe. I looked at this issue exhaustively and I had my mechanical engineer co-conspirator look at this exhaustively. We couldn’t really figure out an ironclad case for installing a perforated pipe. After all, this isn’t like draining farmland, it’s draining a pit that is already lined and filled with gravel. Both a pipe and a gravel pit are equally probable to get clogged with organic goop. It hasn’t been a problem after a season of the pervious paving installation for the patio, nor has it been an issue with the rain garden!
Electrical line: This would have been nice to put a plug way out in the yard, or to futureproof for future electric vehicle charging installation. It could have been done for several hundred dollars in materials, and it wouldn’t have taken much time. Kind of blew it on this one and now it’s going to be hard to retrofit.
In the meantime? We’re looking forward to enjoying Year 2 of the patio and Year 3 of the garden of our time in the crib! Stop by for a tour of our pervious paving slash patio installation.
Read about native plants. Or, become a contributor today to support independent journalism!